
Humble Beginnings
Back when I was in high-school and I got into rocketry I was building everything from scratch. I was basing everything off of ideas and trial and error. Of course I was taking in all the information I could get my hands on, reading books, watching youtube videos, and reading various websites. But most of what I learned came from my own experimentation. I haven’t included everything on this site yet but as you’ll hopefully be able to look at in the near future I had to discover and build everything in order to get off the ground, literally.


This was the original design of my altimeter and electronics bay. As you can see I worked with what I had, the shell made from left over phenolic tubing from the rocket airframe, some all-thread from my dad’s shed, and a piece of wood that seemed like the best mounting material at the time for the circuit board.
GPS
Last time this rocket flew we lost it and it took a few hours to find it. Solution: Add a gps module and transmit the location back.
The module I plan to use: GPS
GoPro Addition
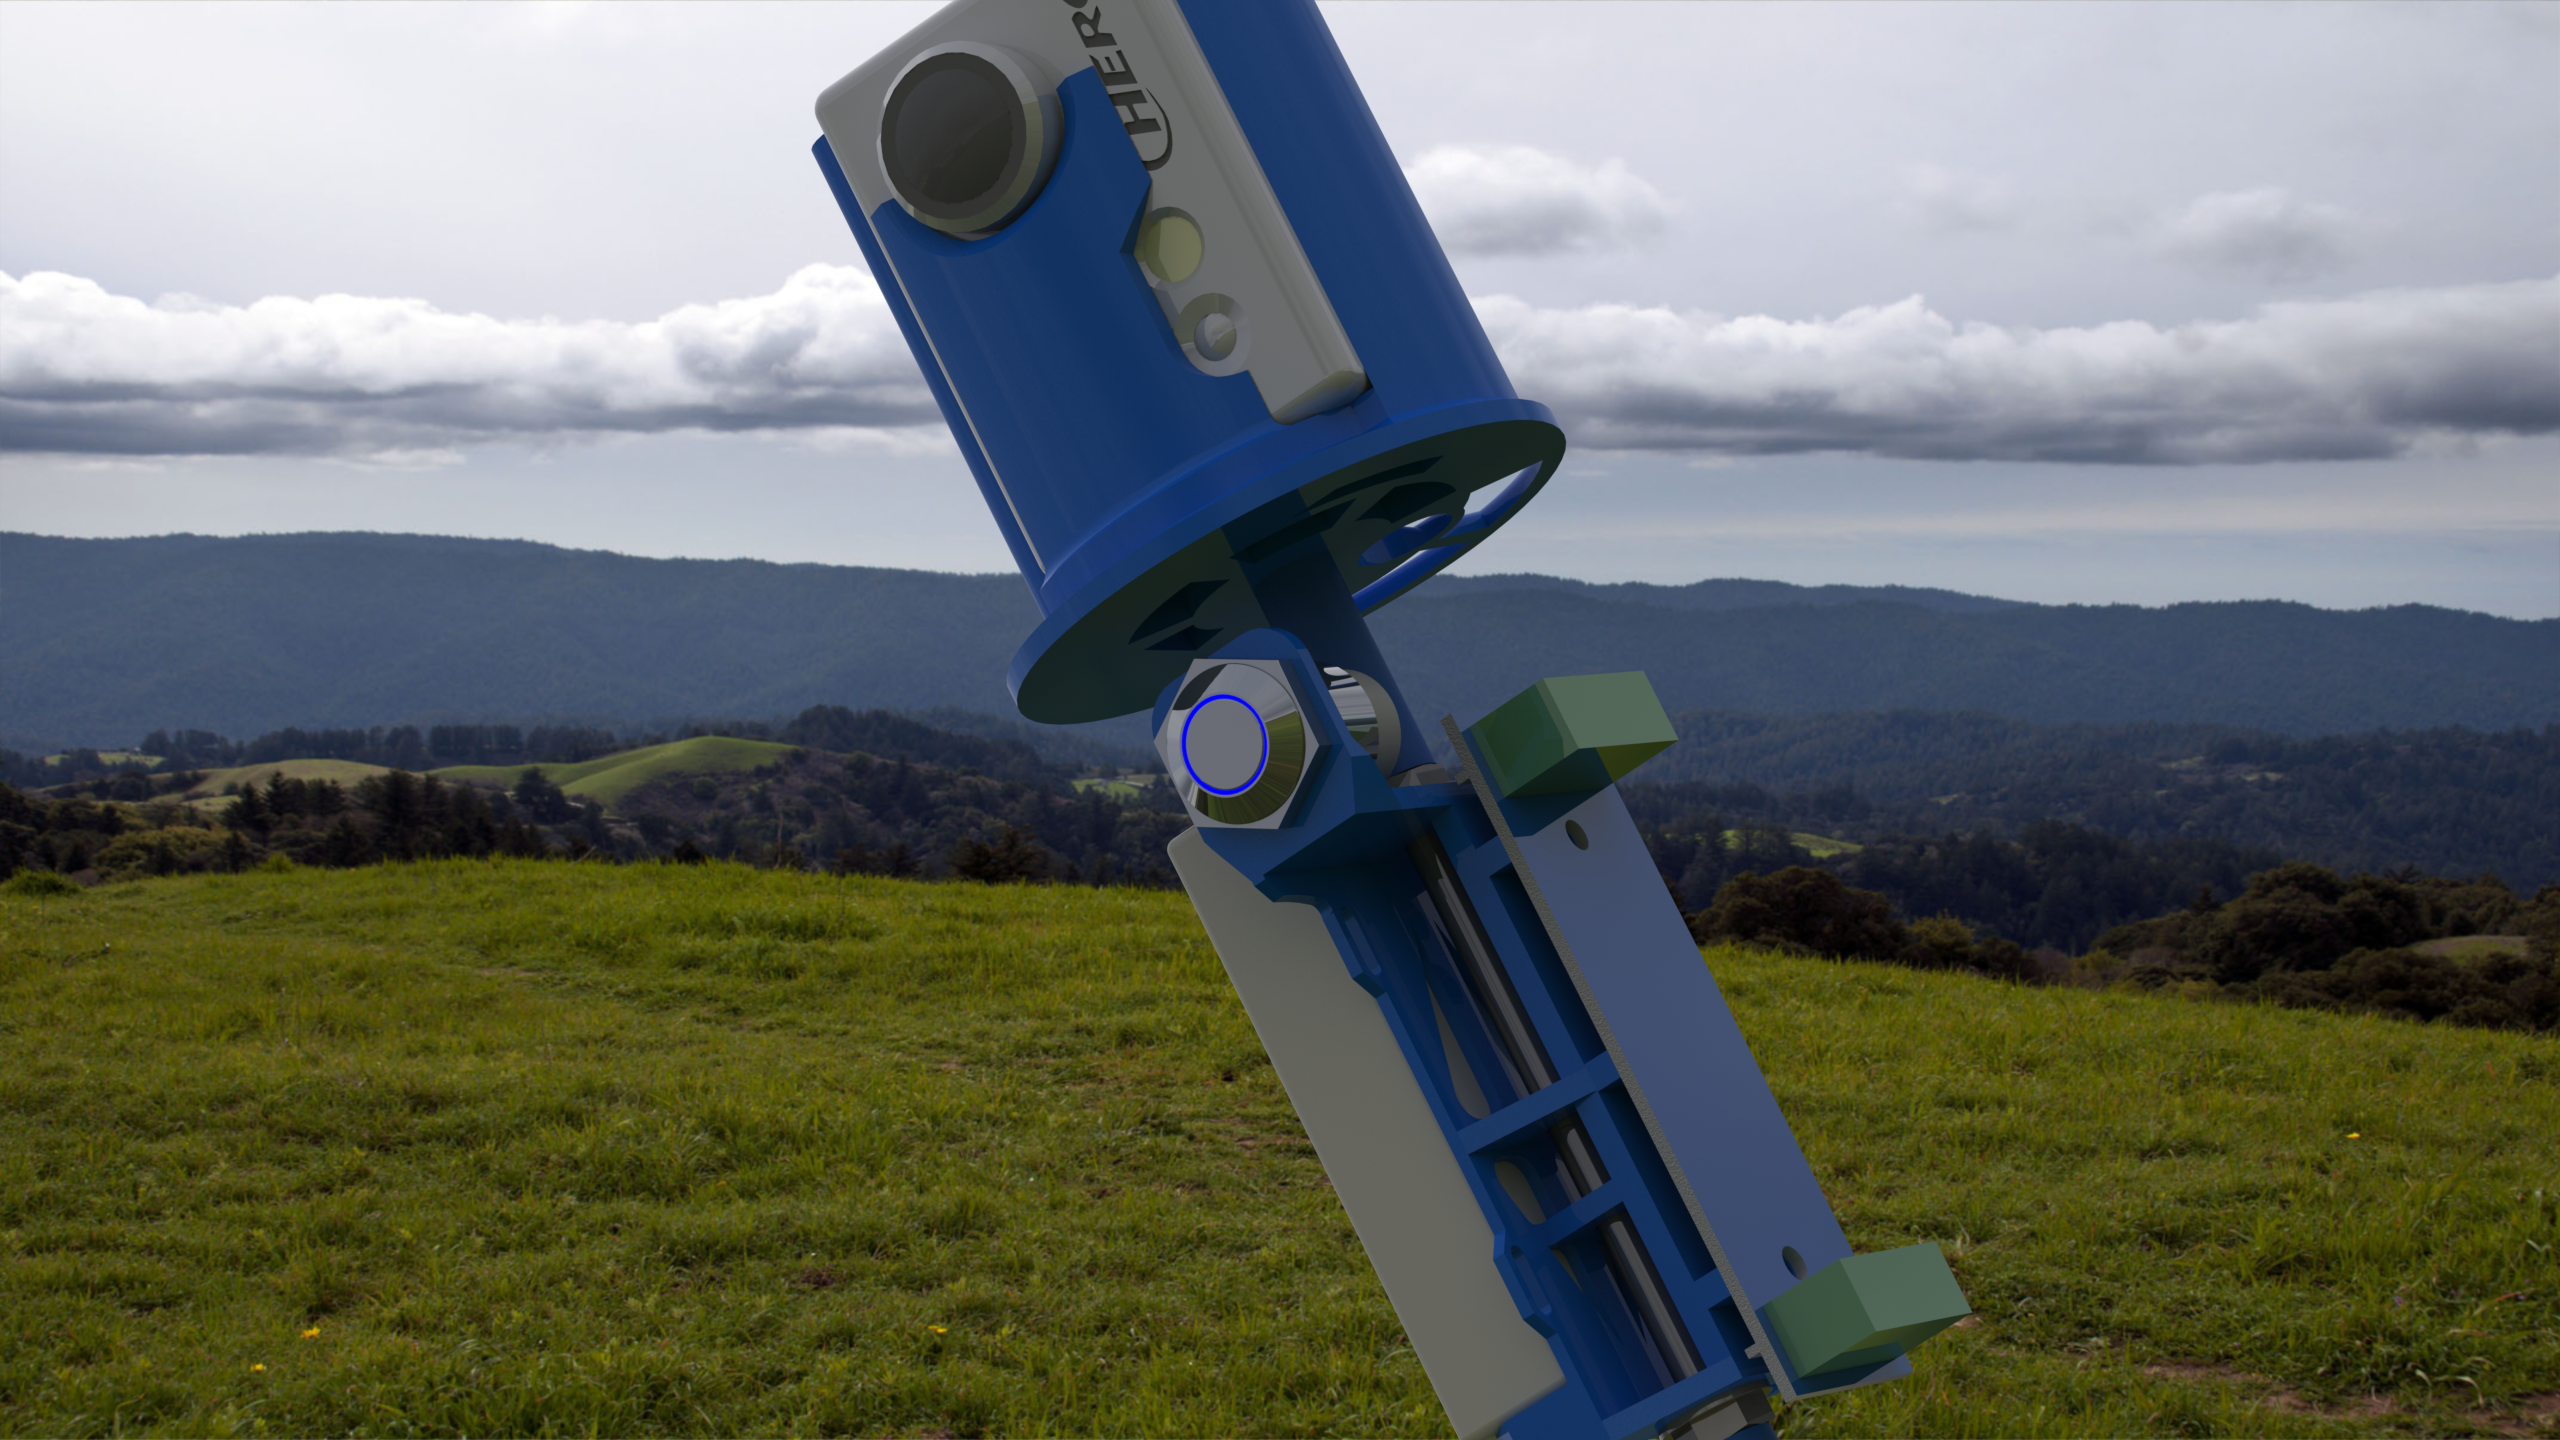
In order to mount the GPS into the rocket, it would have to be at the highest point so that it could lock onto the GPS signal. That would mean that everything else I wanted in the rocket had to go in first. And why not a GoPro. Here is a drawing from the top view of the GoPro mount, it was necessary to design the next
In order to mount the GPS into the rocket, it would have to be at the highest point so that it could lock onto the GPS signal. That would mean that everything else I wanted in the rocket had to go in first. And why not a GoPro. Here is a drawing from the top view of the GoPro mount, it was necessary to design the next part that holds the GPS and transmitter electronics.
In order to mount the GPS into the rocket, it would have to be at the highest point so that it could lock onto the GPS signal. That would mean that everything else I wanted in the rocket had to go in first. And why not a GoPro. Here is a drawing from the top view of the GoPro mount, it was necessary to design the next

Resources
There will be more on this soon, but for now I will be posting all of the content I’m currently researching to make this project happen. Enjoy!
Google API on Leaflet
Leaflet Quickstart
Tracking java application
ESRI Satellite Imagery on Leaflet
Good Leaflet setup tutorial
GPS Tracker Instructable
Alternative Providers for Leaflet
Analog Read Noise reduction
This is a cool page that shows various maps from which to choose, and the required javascript to add them to your page
There are quite a few changes that happened from the GoPro Addition to the finished product, but due to the busyness of the design I haven’t been able to post the entire design yet.
1g of DIY Crimson Powder Ejection Test
Here is a video of the first test using crimson powder for an ejection charge. According to Richard Nakka crimson powder is more potent and burns cooler than black powder. It even has easier cleanup. That was enough for me to give it a shot. You can find his information on the subject here: Richard Nakka Crimson Powder.
I chose to use pure abscorbic acid after some poor results trying to strain vitamin C tablets. Here is the final result. I was pretty happy with it.